The world of 3D printing has become increasingly accessible in recent years, with a growing number of affordable and user-friendly printers available. The Reality Ender 5 Pro is one such printer that stands out for its combination of affordability, reliability, and features that cater to both beginners and hobbyists.
This comprehensive guide will delve into everything you need to know about the Ender 5 Pro, from its specifications and features to setup, printing process, and troubleshooting tips. Whether you’re a complete novice or looking to upgrade your existing printer, this guide will equip you with the knowledge to get the most out of your Ender 5 Pro.
Understanding FDM 3D Printing Technology
Before diving into the specifics of the Ender 5 Pro, it’s helpful to understand the core technology behind it: Fused Deposition Modeling (FDM). FDM printers work by creating a three-dimensional object layer by layer from a filament of thermoplastic material. The filament is unwound from a spool, fed through a heated nozzle, and deposited onto the build platform according to a digital model (STL file). The nozzle temperature melts the filament, allowing it to adhere to the previous layer as it cools and solidifies. This process continues until the entire object is complete.
Unveiling the Ender 5 Pro: Key Features and Specifications
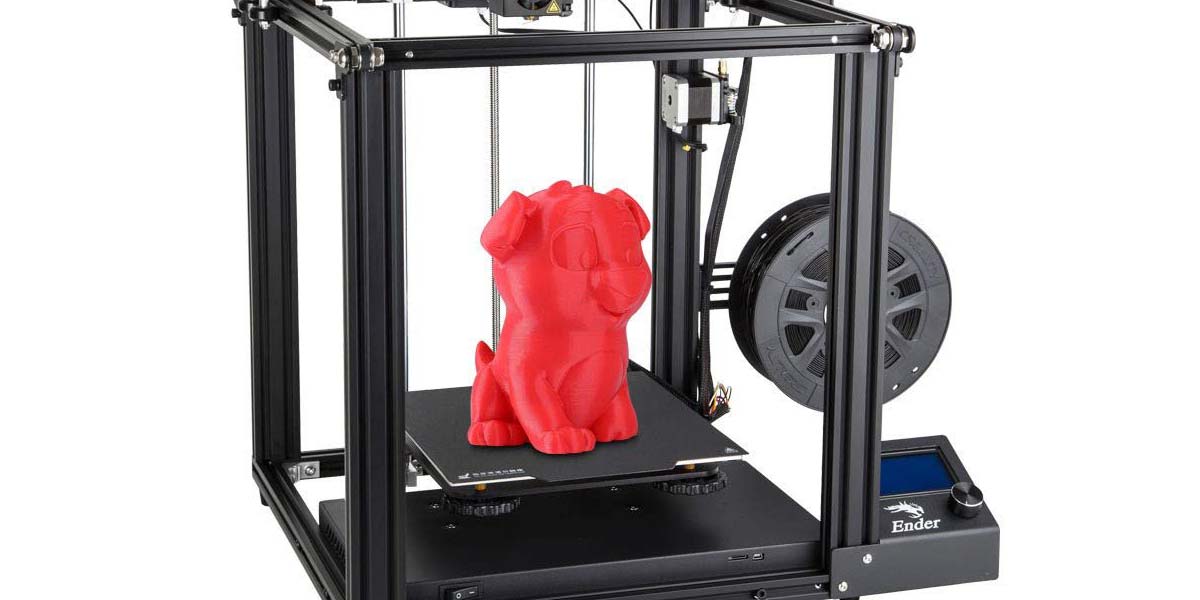
The Creality Ender 5 Pro is a filament-based 3D printer known for its sturdy build, large print volume, and user-friendly features. Here’s a breakdown of its key specifications and functionalities:
- Build Volume: 220 x 220 x 300 mm (8.7 x 8.7 x 11.8 inches). This generous build volume allows you to create objects of a decent size without needing an industrial-grade printer.
- Printing Technology: FDM (Fused Deposition Modeling)
- Filament Compatibility: 1.75mm PLA, ABS, PETG, TPU, and other common filaments.
- Nozzle Diameter: Standard 0.4mm nozzle, with compatibility for other sizes for varying print detail and speed.
- Printing Speed: 40-180 mm/s. The printing speed can be adjusted based on the desired level of detail and print quality.
- Leveling System: Manual bed leveling. While requiring some initial setup, manual leveling offers greater control over the printing process for experienced users.
- Print Bed: Removable magnetic PEI sheet. This flexible bed allows for easy print removal and reduces the risk of damaging the print surface.
- Mainboard: Upgraded silent V4.2.2 motherboard with TMC2208 drivers for quieter operation.
- Connectivity: MicroSD card and USB connection for transferring print files.
Advantages of the Ender 5 Pro
The Ender 5 Pro offers several advantages that make it a compelling choice for beginners and hobbyists:
- Large Build Volume: The generous build volume allows you to create a wider variety of projects compared to smaller printers.
- Sturdy Construction: The cubic frame design provides excellent stability and minimizes printing vibrations, leading to higher print quality.
- Silent Operation: The upgraded motherboard significantly reduces noise levels, making it suitable for home use or workshops.
- User-Friendly Features: The removable magnetic bed simplifies print removal, and the manual bed leveling system offers greater control for experienced users.
- Wide Filament Compatibility: The Ender 5 Pro can handle a variety of filament types, allowing you to experiment with different materials and their properties.
- Affordable Price Point: Compared to high-end printers, the Ender 5 Pro offers excellent value for its features and performance.
Setting Up Your Ender 5 Pro: A Step-by-Step Guide
The Ender 5 Pro comes as a semi-assembled kit, requiring some assembly before your first print. Here’s a simplified step-by-step guide to get you started:
- Unboxing and Part Identification: Carefully unpack the printer and identify all the components using the provided manual.
- Frame Assembly: Follow the instructions to assemble the main frame by connecting the uprights and crossbars.
- X-axis and Y-axis Installation: Attach the X-axis carriage and Y-axis belt according to the manual.
- Z-axis and Nozzle Assembly: Install the Z-axis lead screw and stepper motor, then attach the hot end assembly with the nozzle.
- Filament Run-through: Load your chosen filament and preheat the nozzle to the recommended temperature. Extrude a small amount of filament to ensure proper feeding.